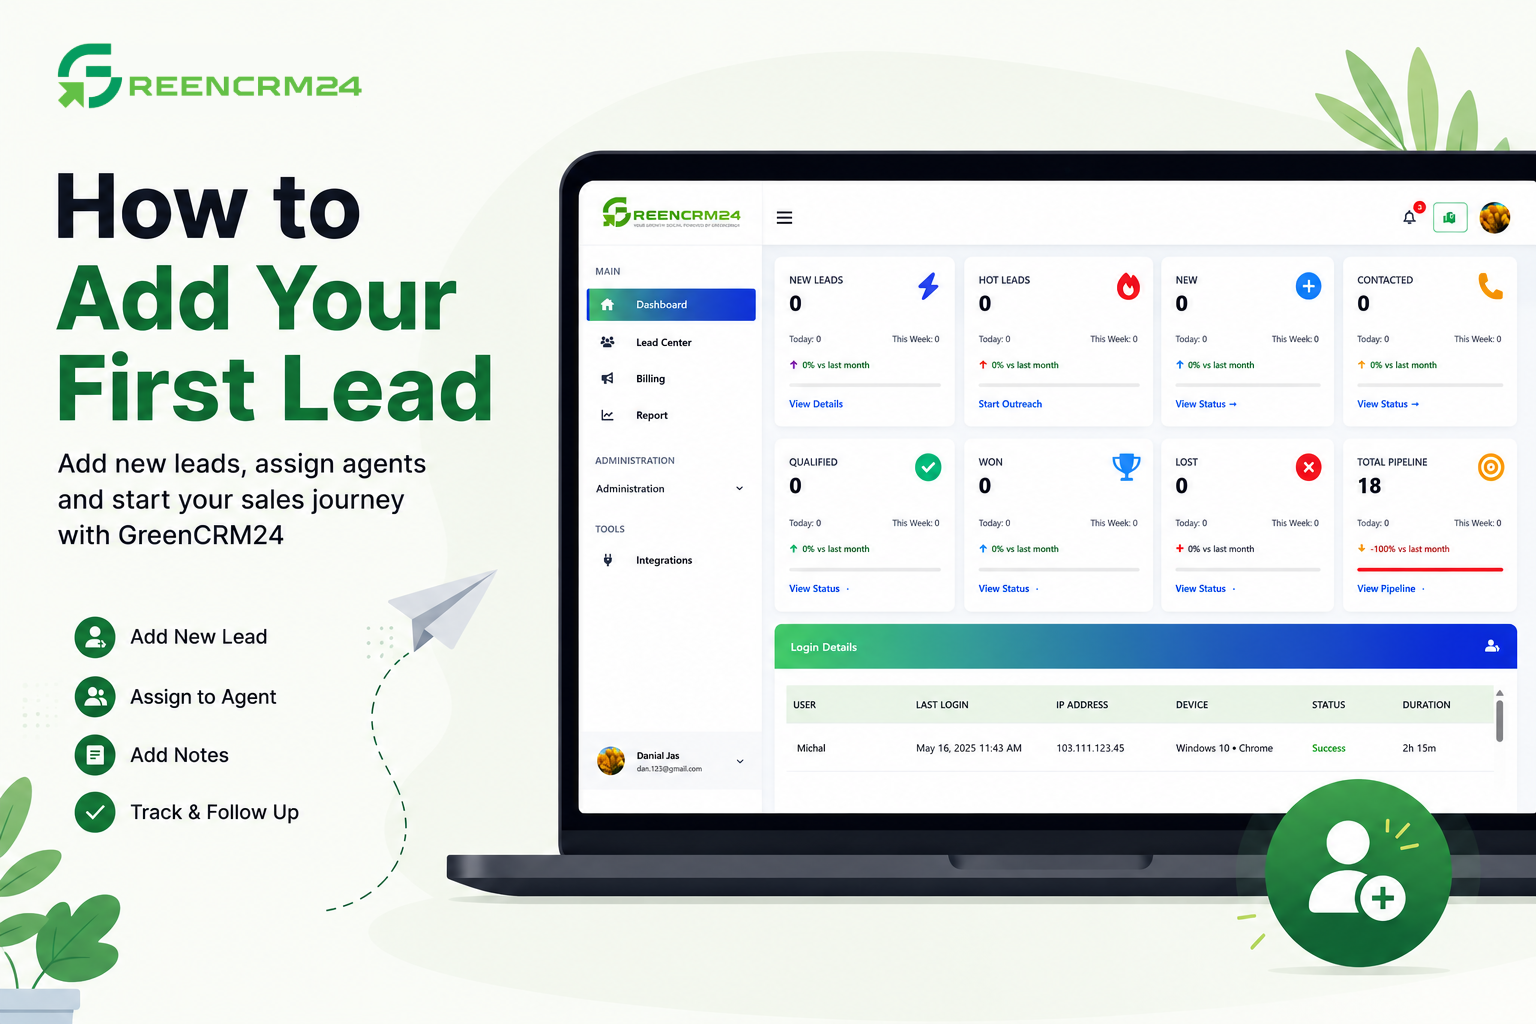
Adding your first lead in GreenCRM24 is quick and easy. You can manually enter a new lead into your CRM and then assign it to an agent, add notes, update its status, and schedule follow-ups.
Before You Start
Make sure you have:
- An active GreenCRM24 account
- Access to your GreenCRM24 dashboard
- Basic information about the lead, such as name, phone number, email, or lead source
Step 1: Log In to GreenCRM24
Log in to your GreenCRM24 account using your registered email address or username and password.
After logging in, you will be taken to your CRM dashboard.
Step 2: Open the Lead Section
From the GreenCRM24 dashboard, go to the Leads section.
This is where you can view, manage, and add your leads.
Step 3: Click "Add Lead"
Click the Add Lead button to create a new lead.
A lead entry form will open.
Step 4: Enter Lead Information
Enter the available information for your new lead.
Depending on your CRM setup, this may include:
- Lead Name
- Mobile Number
- Email Address
- Phone
- Company Name
- Lead Source - Manual, Google, facebook, Indiamart etc.
- Lead Type - New, Hot, Closed etc.
- Notes
Tip
Enter as much accurate information as possible. Complete lead information helps your sales team contact the lead and track the sales process more effectively.
Step 5: Select the Lead Source
Select the appropriate Lead Source if the field is available.
For example:
- Google Forms
- Website
- Landing Page
- Referral
- Manual Entry
- Other
GreenCRM24 can also capture leads automatically from connected sources such as Facebook Lead Ads, Google Forms and Shopify. Manual entry is useful when you receive a lead through another channel or need to add an existing enquiry.
Step 6: Assign the Lead
If your account uses lead assignment, select the appropriate sales agent for the lead.
Depending on your GreenCRM24 setup, leads can be assigned using different methods, including manual assignment, Round Robin, RRMemory, or AI-powered routing.
If you are adding the lead manually, make sure the lead is assigned to the correct person so the sales team knows who is responsible for the follow-up.
Step 7: Add Notes
Add any useful information about the lead in the Notes section.
For example:
Customer is interested in a 2 BHK property and requested a callback tomorrow.
Notes help your sales team understand the lead's requirements and continue the conversation without losing important information.
Step 8: Save the Lead
After entering the required information, review the details and click Save.
Your new lead will now be added to GreenCRM24.
Step 9: Check the Lead
After saving, open the lead record and verify that:
- The lead name is correct
- Phone number and email are correct
- Lead source is correct
- The correct agent is assigned
- Notes have been saved
- Lead status is correct
What to Do After Adding a Lead
Once your first lead has been added, you can continue managing it through GreenCRM24.
You can:
- Assign the lead to an agent
- Update the lead status
- Add notes
- Schedule a follow-up
- Track lead activity
- Monitor the lead until conversion
GreenCRM24 is designed to capture, assign, manage, and track leads from a central CRM dashboard.
Common Questions
Can I add leads manually?
Yes. GreenCRM24 supports manual lead entry in addition to automated lead capture and imports.
Can I assign a lead to an agent?
Yes. GreenCRM24 provides lead assignment options including manual assignment and automated assignment methods.
Can I add leads from other sources?
Yes. GreenCRM24 supports lead capture and import from sources including Facebook Lead Ads, Google Forms, Shopify and Excel.
Can I follow up with the lead after adding it?
Yes. GreenCRM24 allows agents to manage follow-ups, reminders, notes and lead status as part of the lead-management process.
Best Practice
Always add the lead as soon as you receive the enquiry. Make sure the contact information and lead source are accurate, assign the lead to the appropriate agent, and schedule the next follow-up.
This helps your team respond faster and reduces the chance of losing potential customers.