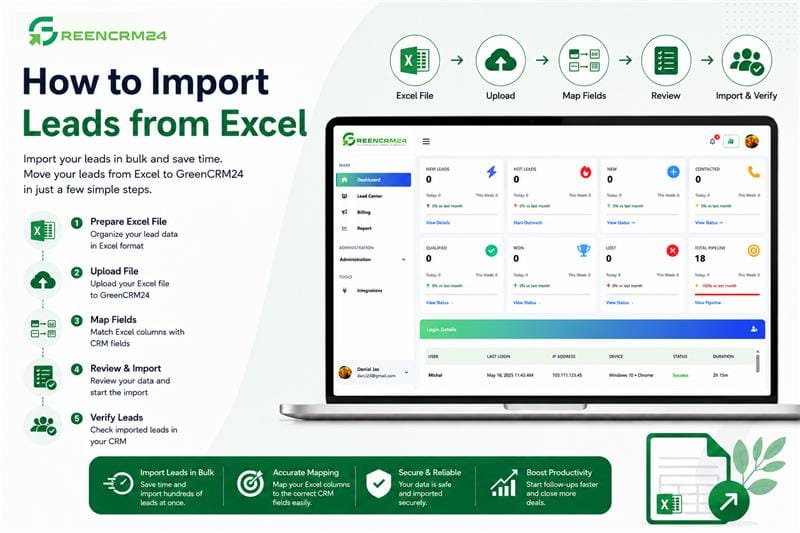
If you already have leads saved in an Excel file, you don’t need to enter them one by one into GreenCRM24. You can upload your existing lead data and bring it into the CRM, making it much easier to get started with your sales activities. GreenCRM24 supports lead capture through *Excel uploads*, along with sources such as Facebook, Google Forms, Shopify, and manual entry.
Before You Import Your Leads
Before uploading your Excel file, take a few minutes to check your data. Make sure the information is organised into clear columns, such as:
Lead Name
Phone Number
Email Address
Company Name
Lead Source
Location
Lead Status
Notes
Remove duplicate or unnecessary records wherever possible. Clean data will make your CRM easier to manage later.
Steps to Import Leads from Excel
1. Log in to GreenCRM24
Sign in to your GreenCRM24 account and open your dashboard.
2. Go to the Lead Import/Data Import section
Open the area provided for importing your existing lead data.
3. Prepare or download the import template
If GreenCRM24 provides a template, use it to arrange your Excel data in the correct format.
4. Upload your Excel file
Select your prepared file and upload it to GreenCRM24.
5. Match your fields
Check that the columns in your Excel file are matched with the correct fields in GreenCRM24. For example, make sure the Excel *Phone Number* column is mapped to the CRM phone field.
6. Review the data
Before completing the import, review the records and check for missing or incorrect information.
7. Complete the import
Once everything looks correct, confirm the import. Your leads will then be added to GreenCRM24 and can be managed from your CRM.
GreenCRM24's support documentation also describes the data-import process as including a template, field matching, and data verification before completing the import.
After Importing Your Leads
Once the leads are imported, take some time to review them. Check lead ownership, update statuses, add notes where necessary, and assign leads to the appropriate users so your sales team knows who is responsible for each enquiry.
Quick Tip
Don't upload a messy Excel file just to save time. Spending a few minutes cleaning your data first can save you much more time later.
With GreenCRM24, you can bring your existing lead database into one place and continue managing your leads, follow-ups, and sales activities from a single CRM.